At first glance, Ura Gyaku looks almost too simple to be effective.
There’s no explosive throw. No dramatic strike. Just a subtle rotation of the wrist and a small shift in body position.
Yet when the technique is applied correctly, the result is immediate and undeniable. Balance disappears. The opponent bends forward instinctively. Control is established before they fully realize what happened.
This is the quiet power of Ura Gyaku, a traditional wrist lock built on precision, leverage, and timing rather than strength.
For martial artists, joint locks like this reveal an important truth: control doesn’t come from force — it comes from understanding how the body moves and where it cannot move anymore.
Let’s walk through the technique step by step.
What Ura Gyaku Really Is
The name itself hints at the mechanics.
In Japanese terminology:
-
Ura often refers to the hidden or reverse side of something.
-
Gyaku means reversal or counter rotation.
Put together, Ura Gyaku describes a reversing wrist motion that turns the joint beyond its comfortable range, forcing the body to follow.
The technique isn’t about twisting someone’s wrist painfully for the sake of pain. Instead, it targets a structural limit in the joint.
Once that limit is reached, the rest of the body naturally tries to relieve the pressure — and that reaction is exactly what allows you to guide and control the opponent.
Why the Technique Works
The wrist is an incredibly flexible joint, but that flexibility has boundaries.
It can bend forward, backward, and slightly sideways. But when the hand is rotated outward and downward at the same time, the joint quickly reaches a point where resistance becomes difficult.
This is the direction Ura Gyaku uses.
Rather than pushing directly against the wrist, the technique creates a spiral of pressure through the hand and forearm. That spiral is what multiplies leverage and forces the body to respond.
When done properly, very little strength is needed.
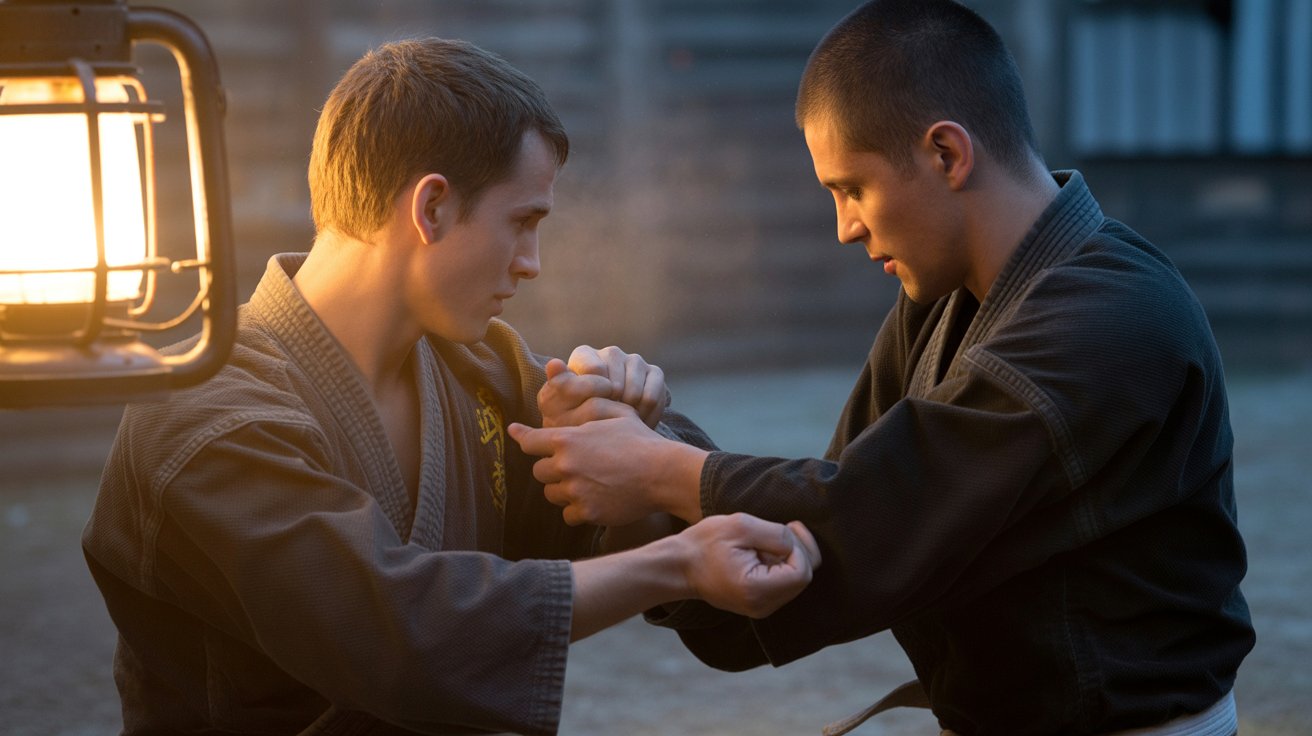
Step 1: Capture the Wrist
Everything begins with control.
Secure the opponent’s wrist or hand in a relaxed but stable grip. Your goal here isn’t to squeeze tightly — it’s to guide their movement.
Keep your posture upright and your elbows slightly bent.
This small detail prevents the technique from becoming an arm-wrestling contest.
Step 2: Align the Hand
Now adjust the opponent’s hand so their thumb points upward.
This alignment places the wrist in a vulnerable position where outward rotation becomes difficult to resist.
Your grip should support the base of their hand while maintaining control around the wrist.
Once the alignment is correct, the technique begins to feel surprisingly light.
Step 3: Rotate the Wrist Outward
Begin turning the wrist outward.
Imagine slowly turning a doorknob away from the opponent.
The key is smoothness. Sudden force often triggers resistance, while steady rotation allows the joint structure to weaken naturally.
Step 4: Drop Your Weight and Spiral Down
Once the wrist approaches its limit, introduce downward pressure.
Instead of pushing straight down, combine three movements:
-
a slight body rotation
-
a lowering of your center of gravity
-
continued wrist rotation
The effect is a spiral motion that travels through the opponent’s arm.
You’ll usually feel the result immediately as their posture collapses forward.
Step 5: Maintain Control
At this point, the opponent’s body instinctively moves to relieve the pressure.
Most people will bend forward or step toward you.
Rather than forcing the lock further, guide this reaction.
You can transition into:
-
escort control
-
a takedown
-
positional dominance
The lock becomes a bridge to further control, not just a momentary technique.
Common Training Mistakes
Many beginners struggle with Ura Gyaku for one simple reason: they try to overpower the technique.
But the strength of the lock comes from structure, not force.
If you feel like you need to muscle the movement, something in the alignment is probably off.
Another common mistake is standing directly in front of the opponent. A slight angle improves leverage and makes the technique far more effective.
Training the Technique Safely
Joint locks require responsible training.
Practice slowly and communicate clearly with your partner. Pressure should increase gradually, and the partner should signal immediately if the joint begins to feel strained.
Over time, repetition builds sensitivity. You start to feel exactly when the joint structure weakens — and that’s when the technique becomes effortless.
Products / Tools / Resources
-
Martial arts wrist strengthening trainers
-
Joint lock training dummy arms
-
Grip strength trainers for martial arts
-
Instructional books on Japanese joint manipulation techniques
-
Partner training drills for wrist lock development